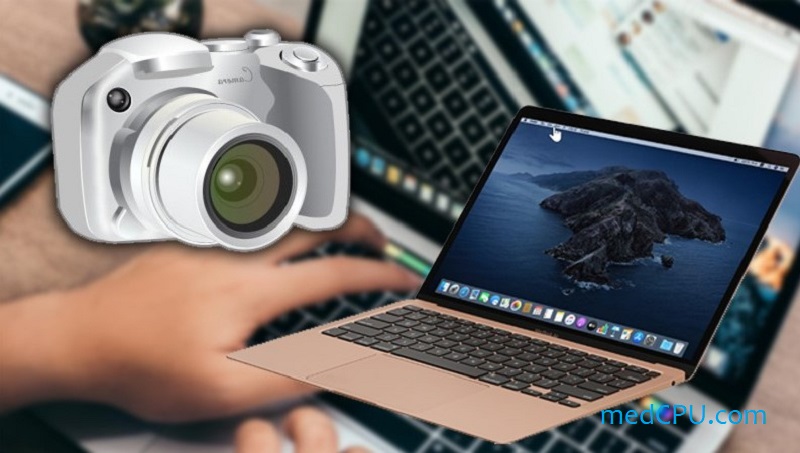
Screenshots are a useful tool for guiding someone through a new program, capturing important communications, and even taking damning photographs of your closest buddy.
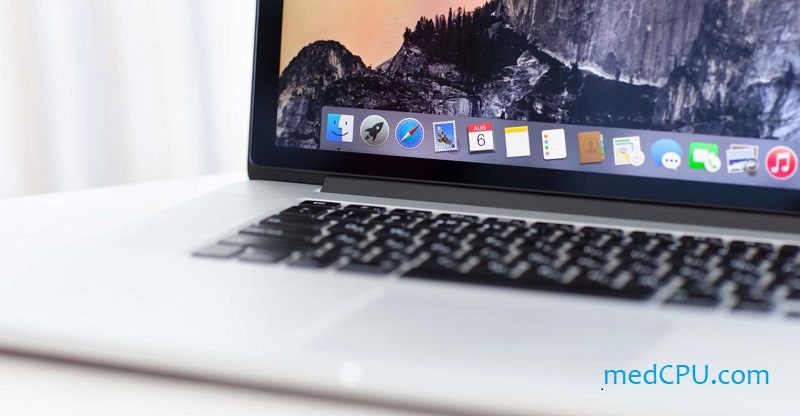
On every Mac computer, you can snap high-quality screenshots and then edit or share them as you see fit. If you purchased or updated your Mac since 2018, you also have access to the advanced screenshot option, which allows you to record movies on your screen. These recommendations also apply to the most recent Macs, since Apple recently redesigned the 13-inch MacBook Pro with a new M2 processor, and a comparable MacBook Air with a much deeper physical overhaul is on the way. Now, MedCPU will show you how to take a screenshot on a mac?
Capture the whole screen
Press and hold ⇧ Shift + ⌘ Command + 3
This shortcut catches whatever is on the screen as rapidly as possible. If you have numerous displays, it will take and preserve screenshots of each one. When you capture the screenshot, a little thumbnail preview will appear in the bottom-right corner of your screen, which you may click to alter.

Capture part of the screen
Press and hold ⇧ Shift + ⌘ Command + 4
This command determines which portion of the screen is captured. Your mouse cursor will become a crosshair. You may then use this crosshair to move it across your screen. To capture the chosen area, release the mouse button or trackpad, or use the Esc key to cancel.
After hitting Shift + Command + 4, you can access more choices by tapping the following keys:
Capture a certain window
Shift + Command + 4 followed by the spacebar. The crosshair will transform into a camera. You can hover the camera pointer over the window you wish to capture and click. When the screenshot is saved, it will have a gray border around it.

>>> Read more: Macbook Pro Vs Gaming Laptop – Which Laptop is For You? 2022
Adjust the height and width
After moving the crosshair to highlight an area, press and hold the Shift key. This allows you to change the box’s height and width. To take a screenshot, release the mouse button or trackpad.
Lock in the shape and size
Press and hold the space bar after moving the crosshair to create a highlighted area. This prevents the box from changing size. The box may then be dragged anywhere on the screen. To take a screenshot, simply let go of the spacebar.
Screenshot toolbar
Press and hold ⇧ Shift + ⌘ Command + 5
The toolbar also allows you to record your screen. This option is only accessible if you are running macOS 10.14 (Mojave) or later on your MacBook. A little gray toolbar towards the bottom of your screen will emerge.
You may capture a screenshot of the full screen, a single window, or a highlighted portion using the three icons on the left. The next two icons to the right will allow you to capture a video of the full screen or only the selected area.
Customize your screenshot choices by using the drop-down options menu (e.g., set where your screenshots are saved, use a timer, or remember your previous selection). When you’ve decided, click Capture to save the snapshot.
Screenshot of the Touch Bar.
Press and hold ⇧ Shift + ⌘ Command + 6
This shortcut simply records what is displayed on the Touch Bar. This option is only available on MacBook Pro models with a Touch Bar.
FAQs: How to take a screenshot on a Mac?
How can I view a screenshot on my Mac?
On a Mac, a screenshot you take is immediately stored on your desktop. You may examine your stored images by accessing the Desktop screen on your computer or by using Finder to open the Desktop folder and view it. Using Finder might be easier if you have a lot of screenshots to sort through on your desktop screen because it often displays the date and time the screenshot was captured.
>>> Read also: How To Build a Gaming Laptop? A Complete Guide 2022
How can I stop Mac from taking screenshots?
To stop taking screenshots on a Mac, go to System Preferences > Security & Privacy > Privacy > Screen Recording. Using your password, open the padlock. Here, you can see a list of the programs that are now capturing your screen. From here, you may choose and deselect the apps.
On a Mac, how do you paste a screenshot?
You have the option to copy screenshots directly to the Mac clipboard rather than saving them all to the desktop or another location, enabling you to paste them into a document or online form you’re working on. This is especially helpful if you simply need to utilize the screenshot straight away and don’t want to keep it.
To copy a screenshot to the clipboard on a Mac, press Control while taking the screenshot. To paste the snapshot in another program, hit Command + V.
Conclusion
As you can see from the image above, the advent of a specific MacBook screenshot and video capture menu in macOS has made learning how to screenshot on a Mac easier than ever. Therefore, it is probable that the procedure will continue to be improved in the future. You may test out each of the applications listed here in the interim: With a 7-day trial of Setapp, a subscription with 240+ indispensable applications for every work at hand, you can get CleanShot X, Capto, Elmedia Player, PhotoBulk, and Dropshare for free.
>>> Read more: MacBook’s Worst Problems & Tips to Resolve Them

Eyal Ephrat serves as the co-founder and CEO of medCPU.com, where technology is making significant strides in the field of medicine. Through his experience in purchasing PC and laptop equipment and various other tech products, Eyal Ephrat contributes valuable insights to medCPU’s mission.