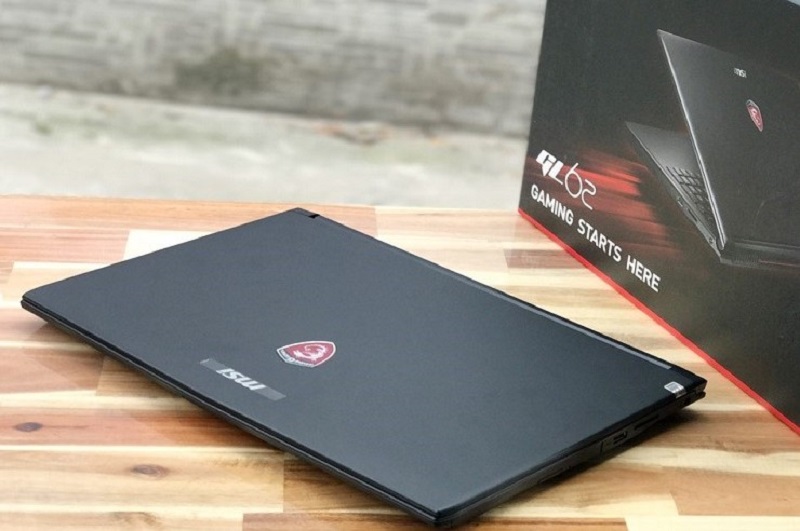
MSI laptops are highly esteemed for their excellence in catering to both gaming and productivity needs. If you own an MSI laptop, it’s likely that you possess a penchant for gaming to some degree. In scenarios like these, the significance of capturing and sharing your in-game accomplishments, such as rankings or high scores, with your acquaintances cannot be overlooked. Therefore, the question arises: How does one capture a screenshot on an MSI laptop? Fortunately, the act of taking a screenshot on MSI laptops is a direct and uncomplicated procedure. This article will furnish you with several techniques to achieve this task effortlessly.
Why would you need to take a screenshot?
Taking a screenshot involves capturing an image of whatever is currently displayed on your computer screen or device. There are several reasons why you might want to take a screenshot:
- Documentation: Screenshots are often used to document information displayed on your screen. This could be for record-keeping, troubleshooting, or sharing information with others.
- Communication: Screenshots are useful for conveying specific information to others. If you’re discussing something technical or complex, a screenshot can help illustrate your point more effectively.
- Error Reporting: When encountering an error or a problem with a software application or website, taking a screenshot can help provide visual evidence of the issue. This is particularly helpful when seeking technical support or reporting bugs.
- Training and Tutorials: Screenshots are commonly used in instructional materials, tutorials, and user guides to provide step-by-step visuals that guide users through a process.
- Sharing Information: Sometimes you want to share a snapshot of a webpage, a funny conversation, a social media post, or an interesting image with friends or colleagues.
- Design and Creativity: Graphic designers, artists, and content creators might take screenshots as part of their creative process, such as capturing inspiration, referencing designs, or documenting their work.
- Research and Reference: Screenshots can serve as references for research, presentations, and reports, especially when you want to include visuals to support your arguments or findings.
- Personal Records: Screenshots can help you remember important information, such as flight details, reservation confirmations, or online purchases.
- Comparisons: You might take screenshots to compare different versions of a design, website, or document over time.
- Security and Documentation: If you encounter suspicious online activity, taking a screenshot can be helpful for documenting potentially malicious behavior.
- Legal and Compliance: In some cases, you might need to capture a screenshot as evidence or documentation for legal or compliance purposes.
How to take a screenshot on MSI Laptop?
There are five ways:
Method 1: Using the “Print Screen” key
Depending on your preferences, you may use “Print Screen” (“PrtScn” or “Print Scrn.” ) alone or in combination with other keys.
Capture the entire screen and save it to the clipboard
- Step 1. Locate the screen you wish to capture.
- Step 2. Press the “Print Screen” key on your keyboard to capture the entire screen.
- Step 3. Press “Ctrl + V” to paste the screenshot into an image editing program, such as Microsoft Paint or Adobe Photoshop.
Capture the entire screen and save it locally (Windows + Print Screen)
- Step 1: Locate the screen you wish to capture.
- Step 2: Press the “Windows” key and the “Print Screen” key on your keyboard at the same time.
- Step 3. Pictures will be saved in the “Screenshots” subfolder of your MSI laptop’s “Pictures” folder.
Capture an active window and save it to the clipboard (Alt + Print Screen)
- Step 1. Locate the screen you wish to capture
- Step 2. Press the “Alt” key and the “Print Screen” key on your keyboard simultaneously
- Step 3. Press “Ctrl + V” to paste the screenshot. Edit and save the screenshot as needed.
Method 2: Using the Snipping Tool

Snipping Tool is a free screenshot tool that comes pre-installed in all versions of Windows, including Windows 10, 11, 7, and 8. Before utilizing them, you should be familiar with the following terms:
- Rectangular Snip: Select and capture in a rectangular format.
- Free-form snip: capture everything you want on your display screen.
- Full-screen snip: Capture your entire screen.
- Windows snip: Capture any active window.
Let’s capture
- Step 1. Press the Start menu, type Snipping Tool into the search bar, and press Enter
- Step 2. Click on the New button to start a new screenshot.
- Step 3. If you select the “Window Snip” or “Full-screen Snip”, the screenshot will automatically be taken. If you select the “Free-form Snip” or “Rectangular Snip”, your screen will dim, and you can drag your mouse cursor to select the area of the screen that you want to capture in the screenshot.
- Step 4. The screenshot will be opened in the Snipping Tool.
Method 3: Using Snip & Sketch
It is only available on Windows 10 and 11. Here is how to screenshot:
- Step 1: Press the “Windows” + “Shift” + “S” on your keyboard to open the Snip & Sketch tool.
- Step 2. Release the mouse button to take the screenshot.
- Step 3: The screenshot will be opened in the Snip & Sketch window. To save the screenshot, click on the “File” menu and select “Save As”.
Method 4: Using Windows Game Bar
- Step 1. Press the “Windows” + “G” key on your keyboard
- Step 2. Click on the “Screenshot” button to capture a screenshot of your entire screen.
- Step 3. The screenshot will be saved to a default folder on your computer, typically “C:\Users[Your username]\Videos\Captures”. You can also find the screenshot in the Xbox app on your computer.

Method 5: Using Third-Party Apps
MSI laptops feature third-party apps that take screenshots. The most popular third-party apps that MSI laptops feature are:
- Snagit: This app contains a tonne of other features including callouts, annotation tools, and online screenshot sharing.
- CloudApp: You may take screenshots on your MSI laptop and transmit them immediately via email or SMS
- Droplr: Because it immediately stores the screenshots in your cloud storage account, the program Droplr makes it possible to share files with your friends and coworkers.
Troubleshooting Tips
- Print Screen key does not work: You can try pressing the Fn + Print Screen key.
- Snipping Tool does not work: Restart your computer and run the program once more. If the problem still exists, look for any programs that could be incompatible with the Snipping Tool and try to disable or remove them.
- Not find your Screenshots: Try looking for them in your MSI laptop’s default screenshot folder. Also, try utilizing the Windows search bar to look up the file name of your screenshot.
Conclusion
Taking a screenshot on an MSI laptop is a straightforward process, thanks to the multiple options available. Whether you prefer the simplicity of the Print Screen key or the versatility of third-party software, you can easily capture and share your screen with just a few clicks.
FAQs
1. Can I customize the screenshot key on my MSI laptop?
Yes, some MSI laptops allow you to customize the screenshot key in the Dragon Center software.
2. Are there any limitations to using the Snipping Tool or Snip & Sketch?
The Snipping Tool and Snip & Sketch are great for basic screenshot needs but may lack advanced features found in third-party software.
3. How do I find the screenshots I’ve taken on my MSI laptop?
Most screenshots are saved in the “Screenshots” folder in your “Pictures” library.
4. Can I capture screenshots in games without interrupting gameplay?
Yes, MSI laptops often have features that allow you to capture screenshots in-game without affecting your gaming experience.
5. Is there a way to take screenshots with a timer on MSI laptops?
Some MSI laptops offer a timer option in their screenshot tools, allowing you to capture delayed screenshots.
Read Next:

Eyal Ephrat serves as the co-founder and CEO of medCPU.com, where technology is making significant strides in the field of medicine. Through his experience in purchasing PC and laptop equipment and various other tech products, Eyal Ephrat contributes valuable insights to medCPU’s mission.
