How Often Should You Replace Thermal Paste On Cpu? Read on our guide below to find out more.
We usually only think about thermal paste when building a new system. But you may not know that thermal paste dries out over time and needs to be replaced.
This material is also known as thermal grease, thermal paste, CPU glue, thermal gel, and thermal interface material (TIM), among other names. Whatever you call it, the correct application of thermal paste is an important part of ensuring your CPU is working properly.
If you follow these maintenance tasks respectfully, the CPU or GPU will stay at the required cool temperature and experience fewer performance problems. This also means it will cost you less money and time to troubleshoot your system.
What is Thermal Paste?
The thermal paste or thermal compound is a material that’s used to install your computer’s cooling system. This material is used in the CPU and graphics cards and any other processors that require a thermal solution for optimal efficiency.
The manufacturer will have already applied the processor paste to your new graphics card when you purchase it. If you are making your gaming rig or intending to install liquid cooling, it is necessary to purchase your tube and apply the cooling paste yourself.
Why do you need thermal paste?
The CPU cooler’s metal base and IHS look perfectly smooth, but these plates can have tiny imperfections that can cause poor heat transfer. Because the surfaces aren’t in complete contact, thermal paste fills those gaps. This allows for more efficient heat transfer.
Thermal paste is what helps your CPU cool down. A cooler CPU will also mean fewer performance issues such as throttling.
Read also:
How To Lower Cpu Temp? A Complete Guide 2021
Best Cpu Cooler For I9 9900K 2021: Recommended For You
How Often To Change Thermal Paste
Intel suggests that thermal compounds be replaced “every few years,” which is very vague. My experience is that it’s safe to use thermal compounds for 3-5 years. Arctic MX-4 is known for its 8-year reliability. This is a great selling point if you have systems that last for a long time, like mine.
It won’t hurt to change it more often than the manufacturer recommends, but it’s not necessary to do so every day. It doesn’t hurt to do it if you are already inside the machine and have thermal paste handy. If that’s not enough, I don’t have a reminder calendar. You shouldn’t, I think.
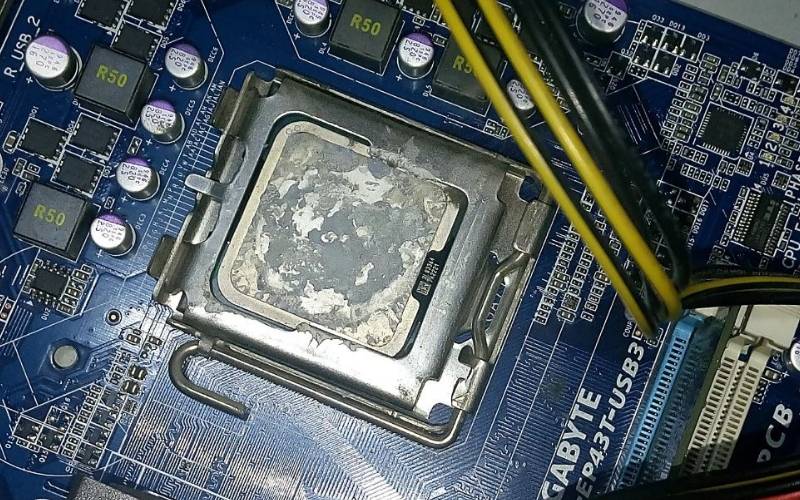
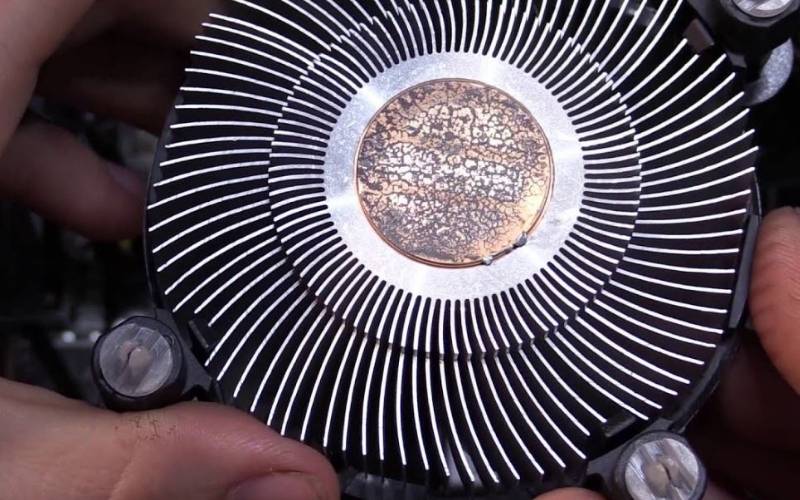
Sometimes, you can see when your computer needs to be replaced with thermal paste. If fans cannot perform tasks that they used to do well, it could indicate that the thermal paste needs to be replaced.
Many enthusiasts keep their equipment for less than 3-5 years. This brings us to another point. If you sell your parts, it is good to replace the thermal paste before you list them.
This will allow you to negotiate the price more effectively and get fewer low-ball offers. It will likely sell faster too. The thermal paste leftover from your new motherboard/CPU combination can be used for up to 4 applications. It helps to be able to open a console and perform this type of surgery.
How to apply thermal paste
Before you begin the installation process, we recommend that you read through the entire section. This will give you a good idea of what to expect and allow for planning.
Before you start, make sure to read all instructions. These include those included with your thermal paste and CPU cooler. Each thermal paste or CPU cooler brand is different, so it’s important to know the details before starting.
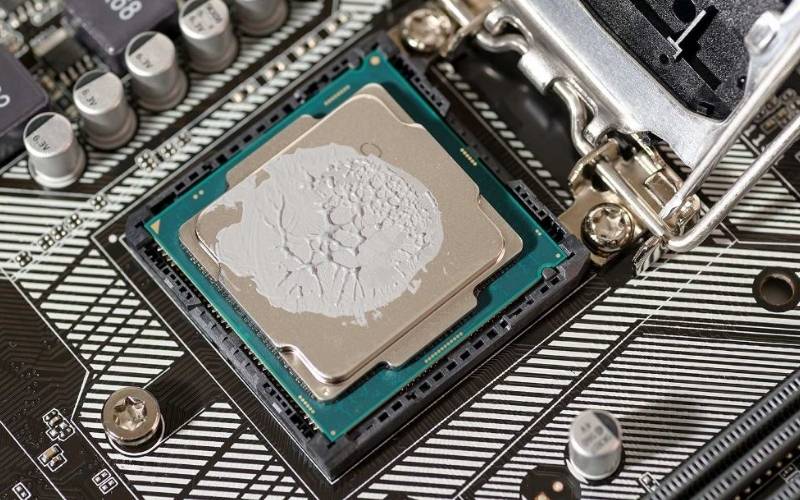
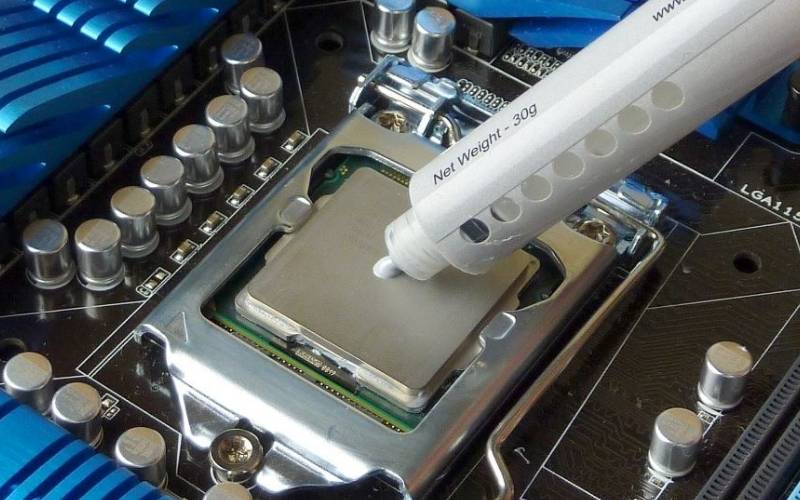
Apply thermal paste to the CPU’s IHS. You can skip this step if you have thermal paste already applied to your cooler. Only a very small amount of thermal paste is required — approximately the size of a grain or pea — to be applied to the center of the integrated heat spreader.
Install a CPU cooler. Apply light pressure, top-down, to place your cooler on the CPU. Then, attach the cooler to its mounting mechanism by holding that pressure.
The cooler should not slide, and the thermal paste evenly distributed. However, it would help if you didn’t push too hard to damage the CPU or bow the motherboard. Attach the cooler to the motherboard using a diagonal pattern.
Secure the screws (assuming that you’re using a screw mechanism) as though you were drawing an “X”. To ensure even pressure, do not tighten the screws completely until you have attached all four. Then turn each screw a few times before turning the next.
Double-check everything. After the CPU cooler’s base plate or water block has been attached, double-check your work to ensure everything is in order.
Thermal paste should not be spilled over the CPU’s edges or on the motherboard. If you see any paste on the motherboard or around the edges of your CPU, this is a sign that you have used too much paste.
You should remove it with alcohol and begin again. You are done if everything is clean and the cooler does not move when you touch it. This is the most important step.
Conclusion
We hope that our guide will help you better understand replace thermal paste. Leave a comment to let us know that you found this guide helpful. Thank you for spending your time at Medcpu.com. We are grateful for your support.
Video:

Eyal Ephrat serves as the co-founder and CEO of medCPU.com, where technology is making significant strides in the field of medicine. Through his experience in purchasing PC and laptop equipment and various other tech products, Eyal Ephrat contributes valuable insights to medCPU’s mission.