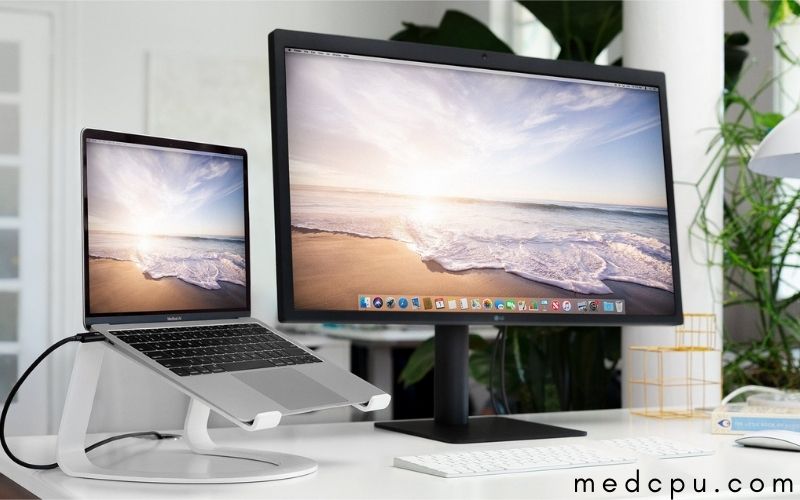
There are many reasons why you may want to close your laptop and use the monitor. For example, if you’re at a desk with limited space, it’s possible that closing the laptop will free up some space for other things. Not only is this good for your desktop organization, but it also conserves energy when using your computer at home or in a meeting.
There are many ways to go about closing your laptop and using the monitor! This article will give you some helpful tips on how to close laptop and use monitor. Let’s explore with Medcpu!
1. How to Keep Your Windows Laptop On When It’s Closed
For this trip, we’re using a Dell Inspiron Duo running Windows 7. The steps for the Mac are similar.

1.1 Change your Power Options settings
Click Start > Control Panel > System and Security > Power Options . Click Change plan settings next to the power plan you want to change. In the Edit Plan Settings window, click Change advanced power settings.
The relevant tabs are:
- Sleep: Power options when the laptop sleeps
- Hibernate: Power choices when the laptop hibernates Hybrid sleep: Power choices when a Hybrid Sleep state is enabled
- Plugged in: Power options when the laptop is running on AC power
In the main pane, click Sleep, Hibernate, or Plugged in.
In the Sleep, Hibernate, or Hybrid sleep panes change when your computer goes to sleep (or enters hibernate).
Under Sleep/Hibernate after, specify how long you want your laptop to wait before it goes to sleep (or hibernates).
Click Apply. You will be prompted to confirm that you want to make the change. Choose OK.
1.2 Change your lid settings
You can customize the action for when the lid of your laptop is closed by using Power Options. Follow these steps to open Power Options and change its settings: In the main pane, click Sleep, Hibernate, or Plugged in. In the Sleep, Hibernate, or Hybrid sleep panes change when your laptop goes to sleep (or enters hibernate). Under Lid close:
- On battery: If you typically connect your laptop to an AC power source when you’re at home or work, choose Hibernate or Sleep. Otherwise, select Do nothing.
- On Plugged in: If you typically connect your laptop to an AC power source when you’re at home or work, choose to Hibernate, Sleep, Turn off the display or Do nothing. Otherwise, select Do nothing. Click Apply and OK to save your settings> click Save changes.
Clicking Start > Control Panel > Hardware and Sound > Power Options. Click Change plan settings next to the power plan you want to change. In the Edit Plan Settings window, click Change advanced power settings.
To use this tip, a wireless keyboard with an Fn key is needed. Pressing the Fn key + the spacebar turns off the display. When the keyboard is released, the monitor will come back on. To use this tip, a wireless keyboard with an Fn key is needed. Pressing the Fn key + the spacebar turns off the display. When the keyboard is released, the monitor will come back on.
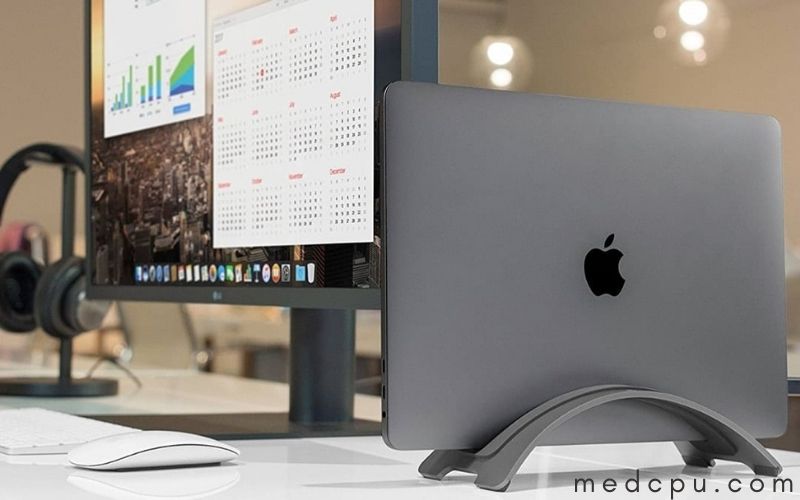
2. How to Use Your MacBook With a Monitor and the Lid Closed
Plugin your external monitor into an available USB port on your Mac, using a Mini DisplayPort-to-DisplayPort cable if necessary. If you don’t have one of these cables, any full-size DisplayPort male to male will work. You can also use an HDMI or DVI cable if your monitor supports one of those connections.
Using the built-in display: If you close the lid of your laptop and press a key, you’ll find that all commands are directed to the main screen of your Mac (the built-in display). To change this behavior, go to System Preferences and click Displays. Now, select the second screen from the left in the Arrangement tab to activate it as your main display.
Step 1: Open The System Preferences app
Step 2: Click On The Display Tab From here on out, you will use the external monitor instead of the laptop’s internal one whenever you close your MacBook’s lid. The reverse is also true: all activity will focus on your laptop’s screen instead of the monitor when you open the screen. Make a mental note of this feature to avoid confusion in the future.
Step 3: Click On The Screens Tab Now that you’ve designated an external monitor as your primary screen, it should be listed as the main screen in your screen preferences. If it isn’t, click it to select it as the primary screen.
Step 4: Activate The Second Screen After you use the external monitor as your primary screen, walk through steps 1 and 2 again, but instead of selecting a new screen, leave the screen drop-down menu set to “Mirror Displays.”
Step 5: Add a Second Screen Now that you’ve designated your laptop screen as the primary screen, you can add an external monitor. Connect your second screen to a USB or Thunderbolt port on your Mac. Then, in System Preferences > Displays > Arrangement, select it as the secondary screen.
If you use your MacBook at home with a 24-inch external monitor, for example, and then head off to work with just the laptop display, you’ll want to change the mirroring option so you can also take advantage of your extra screen when you arrive at work.
If both screens are set up as primary displays, then right-click on their respective menu bars and uncheck the Mirror Displays box.
Note: If you attached two external monitors, one would be labeled “Default Display” while the other will be called “2nd screen.”
Step 6: Use Your Laptop With An External Monitor Now that your MacBook’s screen has been designated as a secondary screen, you can use it as usual while your second screen shows whatever’s on the main screen of your Mac. If you want to change anything, return to System Preferences > Displays > Arrangement and make the appropriate adjustments.
Step 7: Control Your Monitors’ Brightness With a MacBook Pro, You have a brightness control for each of your monitors. If you’re using a MacBook Pro, the brightness control is located in System Preferences > Displays next to the Arrangement tab.
3. Warnings About Keeping Your Laptop on When Closed
Keeping your laptop running after it’s been closed may reduce the lifespan of its battery and could shorten its life span. The reason: if the laptop is off, there’s no draw on the battery. When a laptop is in use, the CPU, hard drive, and other parts run continuously to power the screen and other components.

When it’s closed, the battery keeps the RAM powered for use by programs that may need to access memory while the laptop is off. Closing a laptop also turns off its cooling fans, so if you’ll be using it again within an hour or two, keeping it on could be a good idea — otherwise, turn it off.
If you want to keep your laptop on, but you’re worried about power consumption, consider buying a spare battery. You can swap batteries without turning off the laptop- be sure that when you put the first one back in, the other one is fully charged or plugged into an AC outlet; otherwise, the second battery may drain while it’s not being used.
Note that your laptop screen, keyboard, and touchpad won’t work if your laptop is in sleep or hibernate mode unless you have a wireless mouse and pointing device. Some laptops don’t power these devices while the machine is asleep or hibernating. If the device doesn’t work by default but can be powered on automatically with the computer, consider exploring your device’s settings to adjust this.
4. How to close the laptop lid and use the monitor without going to sleep or hibernate
4.1 Configure laptop lid close action settings in Power Options
This can only be done from a laptop that’s already been set up to work this way (see above)
4.2 Configure lid close action option using Command Prompt
This is only useful if you want to configure this setting for one laptop that hasn’t yet been set up.
Disclaimer: Entering your password gives anyone with access to your computer access to your session, so it’s important to know who has access to your laptop and whether or not they’re trustworthy with that type of information.
How to add the lid close action: [I’m going to use “Enable” as an example, but you can replace it with whatever you want.]
C:\Windows\System32>powercfg /lidaction /enable
4.3 Configure lid close action settings using a script
This script can be saved to your laptop, then executed from the property page of any drive or directory whenever you want to make changes. If you know-how, it can be run in the background as a Windows scheduled task. Put this into a .bat file [For example, “ChangeLidActionSettings.bat”]
How to create a .bat file: http://www.wikihow.com/Create-a-Batch-File
Location of the lid closed action setting: [This is for the script, not graphical user interface]
HKLM\SOFTWARE\Microsoft\Windows NT\CurrentVersion\Power Scheme\ActivityExecutionState\Settings
Lid close action setting: [This is in Properties, not the script. To open it, right-click on a drive or directory and select Properties.]
Value Name: Enable How to change the lid close action settings from GUI (graphic user interface):
Click Start> Control Panel> Hardware and Sound> Power Options On the left, click choose what the power buttons do. Select Change settings that are currently unavailable. Under “Shutdown settings”, select Change advanced power settings. Scroll down to the list of options for “PC Settings for close lid action”
4.4 Connect laptop to monitor as an external display
If you’re in a situation where you can’t change settings on the laptop, but there’s a second computer nearby that can be used to change settings, you won’t need to set up the laptop at all. You only have to connect an extra screen.
5. Change Display Settings to enable the second display
(I’m use an external screen as an example):
Open Display Settings by right-click on the desktop, then select Display.
Click Change display settings in the top left. Click on the second screen (the one with “(2)” next to it) and make sure that Extend my Windows desktop onto this monitor is checked Click choose Apply. If you manage multiple monitors, you have to repeat these steps for each screen.
6. Adjust the audio output settings
If you can’t get sound from your monitor (or speakers), try this:
Click Start> Control Panel>Hardware and Sound> Sound In the left menu, > Playback Devices Right-> on Speakers/Headphones, select Properties Under the Enhancements tab, check off everything that says “apply” or “use”. If it’s already checked, recheck it. Click choose Apply> OK
Read more: Best Black Friday Laptop Deals 2021: Top Brands Review
FAQs
Should I shut down laptop every night?
While PCs do benefit from occasional reboots, it is not necessary to shut down your laptop every night. The laptop’s usage and longevity will determine the right decision. However, the life of the laptop span will decrease as it ages. It is worth keeping the laptop on to prolong its usefulness and prevent it from falling.
Can I just close my laptop?
There are several options available when you need to disconnect your laptop from it. It’s easy to close your laptop and put it in Sleep mode. You can also manually set it to Hibernate mode. It can also be completely turned off.
How do I turn on my laptop when I close it?
Search for Control Panel in the Start menu. Navigate to Hardware & Sound > Power Options > Select what lid closed does. To find the Start menu, you can also type “Lid”, into the search box.
Is it OK to leave your laptop on 24/7?
If you aren’t using it for more than a few hours, keep it on. You can set it to sleep or hibernate’ mode if you don’t plan on using it for more than a day. All device manufacturers now have stringent testing for the lifecycle of laptop components.
Conclusion
This article has provided you with some helpful tips to close laptop and use monitor for your desktop accessories. You may have already known these things, but now it’s easier than ever before! If there are any other questions that pop up in the future, don’t hesitate to leave some comments below!

Eyal Ephrat serves as the co-founder and CEO of medCPU.com, where technology is making significant strides in the field of medicine. Through his experience in purchasing PC and laptop equipment and various other tech products, Eyal Ephrat contributes valuable insights to medCPU’s mission.