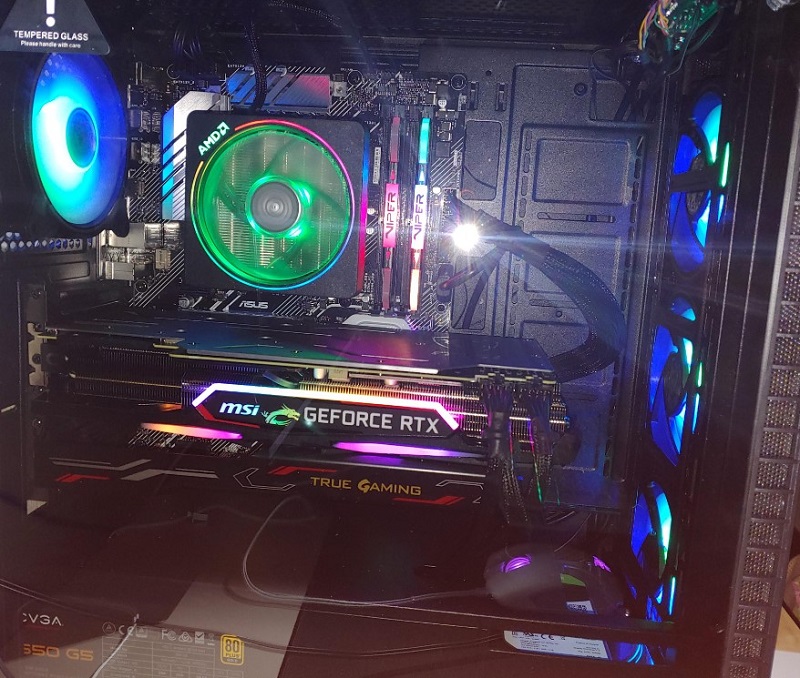
The Cooler Master CPU fan is an essential component in maintaining your computer’s performance and longevity. It’s responsible for keeping your processor at an optimal temperature by dissipating heat generated during operation. Over time, due to factors like dust accumulation or mechanical wear, the performance of your CPU fan can deteriorate, leading to increased temperatures and potential thermal throttling. If you’re facing such issues, it might be time to remove and either clean or replace your CPU fan.
Tools and Precautions
Before you embark on the process of removing your Cooler Master CPU fan, it’s crucial to gather the necessary tools and take some precautions:
- Screwdriver: You’ll likely need a Phillips-head screwdriver to remove screws securing the fan in place.
- Thermal Paste: If you plan to reinstall the same CPU fan or replace it with a new one, you’ll need a small amount of thermal paste to ensure optimal heat transfer.
- Anti-Static Wrist Strap: Wearing an anti-static wrist strap during the process will prevent electrostatic discharge, which can damage sensitive components.
- Work Area: Choose a clean and well-lit workspace with ample room to maneuver inside your computer case.
- Safety Measures: Always ensure your computer is powered off and unplugged before working on its internal components.
Step 1: Proper Shutdown and Unplugging
Begin by shutting down your computer through the operating system. Once shut down, unplug all cables connected to the computer, including the power cord.
Step 2: Opening the Computer Case
Refer to your computer’s manual to determine the correct method for opening the case. This might involve removing side panels, unscrewing certain sections, or sliding mechanisms.
Step 3: Locating the Cooler Master CPU Fan
Once you have access to the interior of your computer, locate the Cooler Master CPU fan. It’s typically positioned near the processor, connected to the motherboard via a power cable.
Step 4: Disconnecting the Power Cable
Gently unplug the power cable that connects the CPU fan to the motherboard. Take care not to tug forcefully on the cable, as it can damage the connectors.

Step 5: Detaching the Mounting Mechanism
Cooler Master CPU fans are secured using various mounting mechanisms. These might involve screws, brackets, or clips. Carefully loosen and remove these fasteners to free the fan from its position.
Step 6: Gently Remove the CPU Fan
With the mounting mechanism detached, gently lift the Cooler Master CPU fan off the processor. If you encounter resistance due to residual thermal paste, apply a slight twisting motion to ease the separation.
Step 7: Thoroughly Cleaning the CPU Surface
Before installing a new CPU cooler or reattaching the existing one, it’s essential to clean the CPU surface. Use a lint-free cloth and isopropyl alcohol to remove any residual thermal paste and ensure a clean mating surface.
Step 8: Optional – Installing a New CPU Cooler
If you’re replacing the Cooler Master CPU fan, follow the manufacturer’s instructions for installing the new cooler. Apply a small, pea-sized amount of thermal paste to the center of the CPU before attaching the new cooler.
FAQs
1. Can I reuse the thermal paste?
Yes, you can reuse thermal paste if it’s in good condition and hasn’t dried out. However, for optimal thermal conductivity, it’s recommended to apply fresh thermal paste.
2. Is removing the CPU fan risky for my computer?
When done correctly and with proper precautions, removing a CPU fan is generally safe. Just be sure to follow the steps carefully and avoid unnecessary force.
3. How can I tell if my CPU fan needs replacement?
If your computer is experiencing overheating issues, consistent loud noise from the fan, or if the fan isn’t spinning at all, it might be time to consider a replacement.
4. What if my CPU fan is not from Cooler Master?
The process of removing a CPU fan is generally similar regardless of the brand. However, always refer to the manufacturer’s instructions for specific guidance.
5. What’s the ideal interval for cleaning or replacing CPU fans?
Cleaning or replacing CPU fans every 6 to 12 months is a good practice to maintain optimal cooling performance and prevent dust buildup.
Conclusion
Effectively removing a Cooler Master CPU fan requires a methodical approach and attention to detail. By following this comprehensive guide, you’ll be able to safely detach the fan, clean the CPU surface, and even replace the fan if necessary. Remember, maintaining proper cooling is essential for your computer’s performance and longevity.
Related Posts:

Eyal Ephrat serves as the co-founder and CEO of medCPU.com, where technology is making significant strides in the field of medicine. Through his experience in purchasing PC and laptop equipment and various other tech products, Eyal Ephrat contributes valuable insights to medCPU’s mission.
